Gitlab CI/CD Part 2

CI/CD with Gitlab Part 2
In a previous post I went through the basics on getting a gitlab pipeline defined and deploying a container to my k3s cluster. The pipeline references several variables so lets talk about where those variables need to be defined.
Setup Variables in Gitlab
In the gitlab-ci.yaml file under the deploy section the before_script references the KUBERNETES_KUBE_CONFIG. This veriable needs to be stored in the gitlab project variables or group variables. If you plane to use this variable in more than just this project you would want to define it once inside the group Settings –> CI/CD –> Variables.
1
2
3
4
5
6
7
8
9
10
11
12
13
14
15
16
17
18
19
20
21
22
23
24
25
26
27
28

deploy:
  image:
    name: bitnami/kubectl@sha256:6410882b254fde82200c364b606b0cbb9b0fb802fede69011a33b9d28066b459
    entrypoint: [""]
  cache: []
  stage: deploy
  retry: 2
  before_script:
    - sed -ie "s/deploy-date-value/$(date)/g" kubernetes/deployment.yaml
    - sed -ie "s|registry-value|$CI_REGISTRY_IMAGE|g" kubernetes/deployment.yaml
    - mkdir -p .kube/ && touch .kube/config
    - echo ${KUBERNETES_KUBE_CONFIG} | base64 -d -i > ${KUBECONFIG}
  script:
    - kubectl apply -f kubernetes
flushcache:
    image: alpine/curl
    cache: []
    artifacts: {}
    stage: flushcache
    retry: 2
    script:
    - sleep 60
    - |
        curl --fail --output "/dev/null" --silent --show-error -X POST "https://api.cloudflare.com/client/v4/zones/$CF_ZONE_ID/purge_cache" \
        -H "Authorization: Bearer $CF_API_TOKEN" -H "Content-Type: application/json" \
        --data '{"purge_everything":true}'
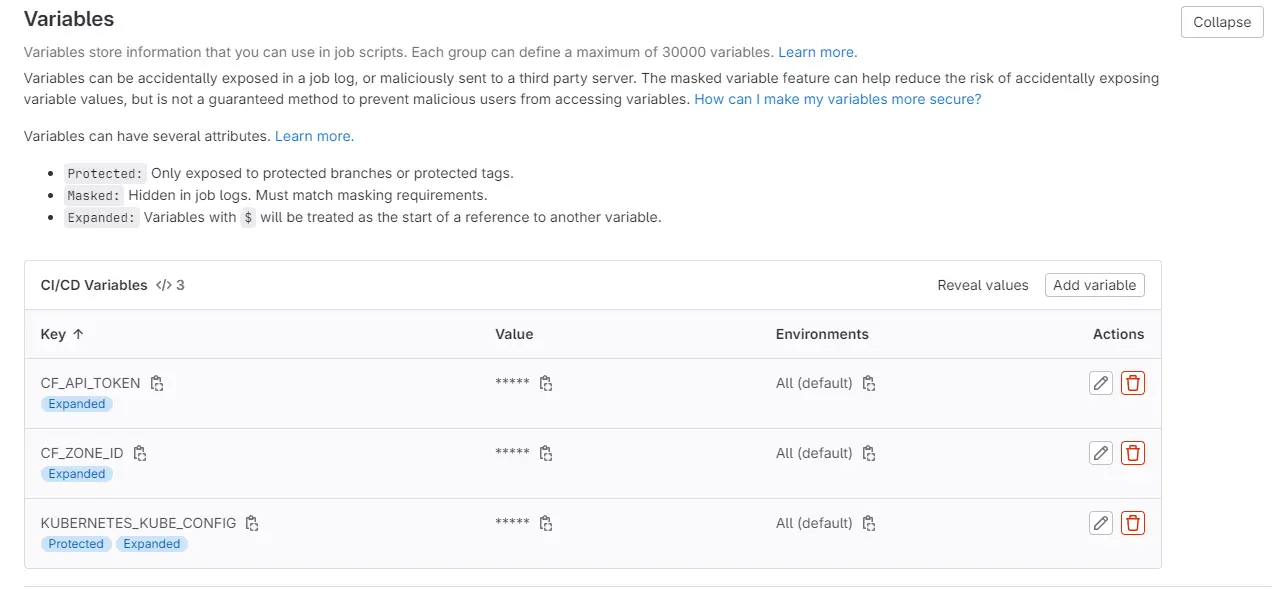
Below you can see that I have three defined:
- KUBERNETES_KUBE_CONFIG: This is the ~/.kube/config file that is typically stored where you are running kubectl commands. You will encode it in base64 and store that hash as the variable.
- CF_ZONE_ID: This will be found on the cloudflare website in your zone settings
- CF_API_TOKEN: This is something you can create in cloudflare, remember to make sure the permissions include the ability to purge the cache.
Setting a Gitlab Runner and k3s secrets
Now that I have the variables setup, we need a Runner to perform the actual deployment and setup a secret to pull down the container from the Gitlab repository.
First the Kubernetes secret, you can use rancher-ui to set this up navigate to your local cluster –> Storage –> Secrets and create a Registery secret 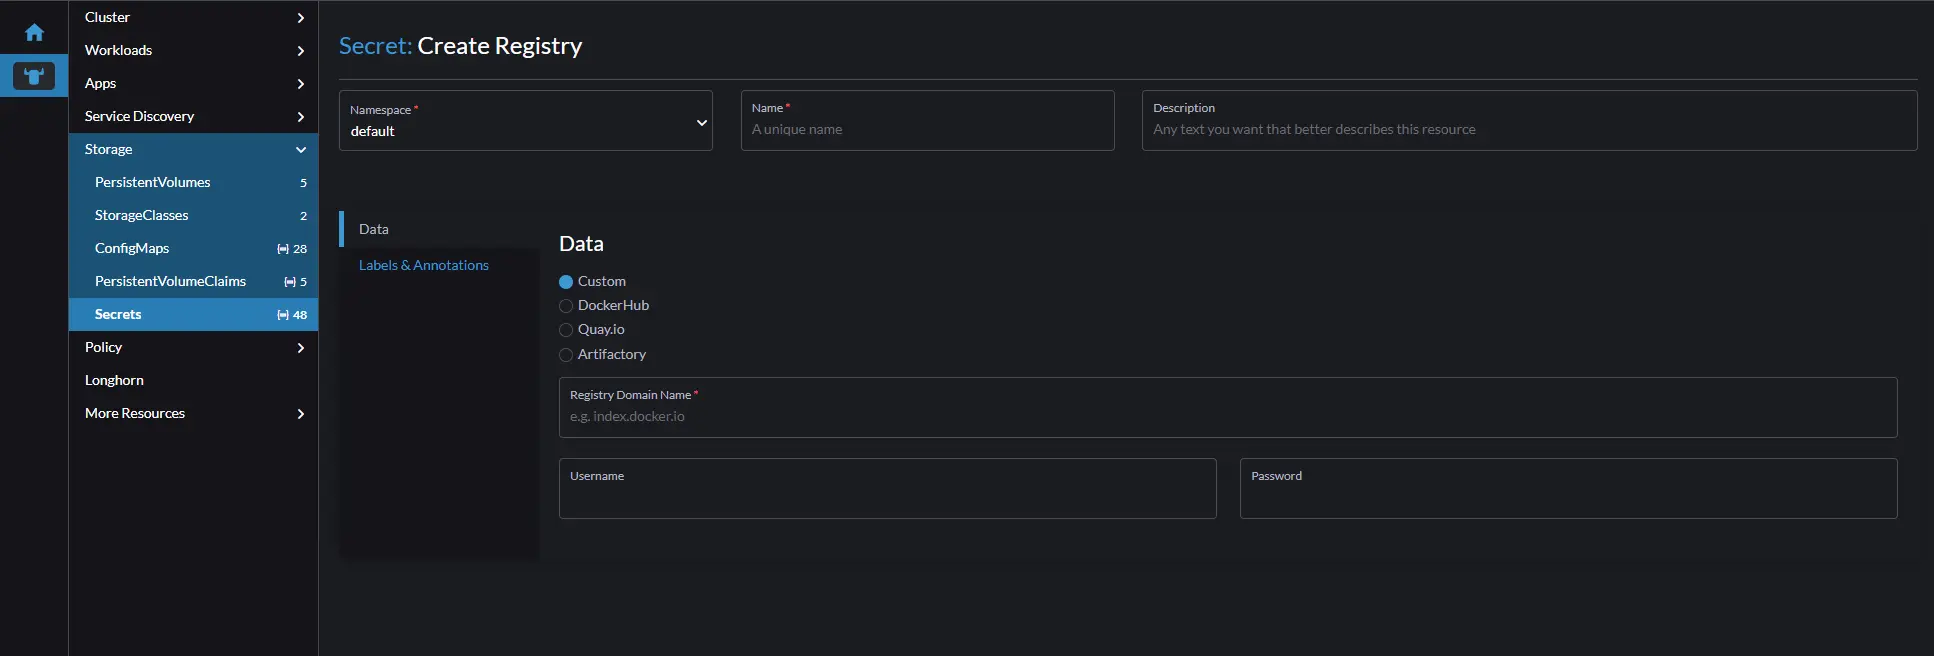
Place the secret in the same namespace you plan to deploy your container, give it a unique name, Registry domain will be in my case the Gitlab repo url, the username is your Gitlab username, and password is the project token. To setup the token for your username, edit your profile –> Access Tokens, generate a new token and give enough access scope as you require.
Now that we have that squared away we can setup a group runner and deploy it into the k3s cluster. In Gitlab go to group Settings –> Build –> Runners. Click the blue New group runner button on the top right, 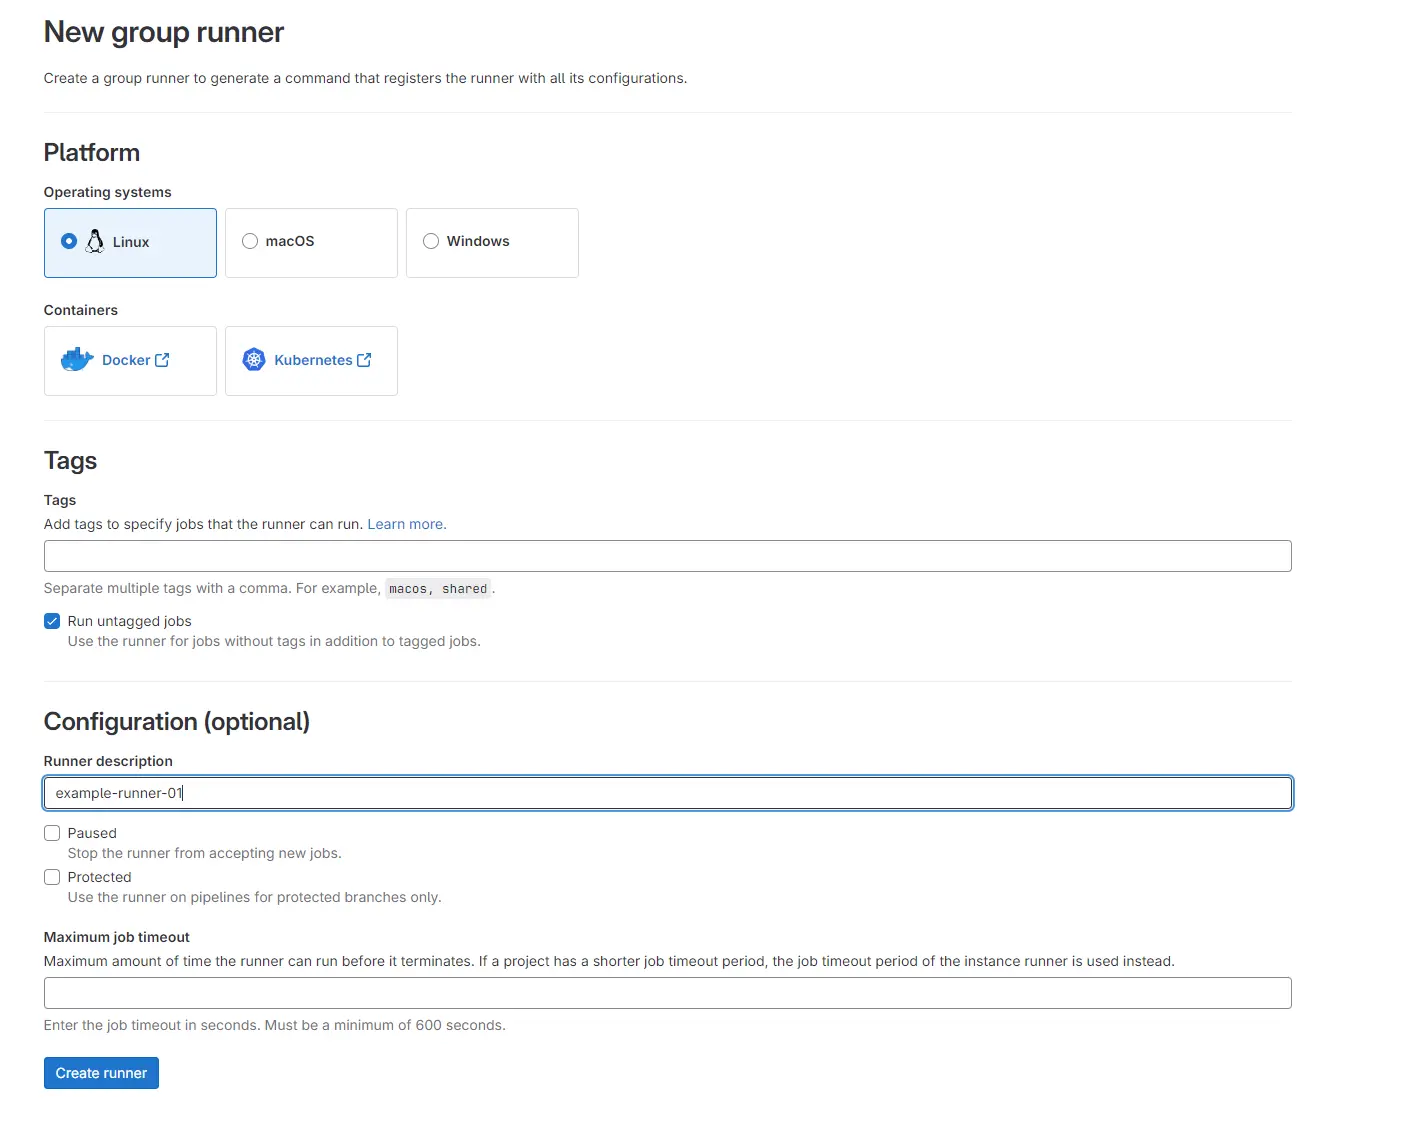
We will be running a linux container in the k3s cluster so leave linux checked, and check run untagged jobs. This runner will run any of the jobs without needed a specific tag. Click the create runner button on the bottom left. 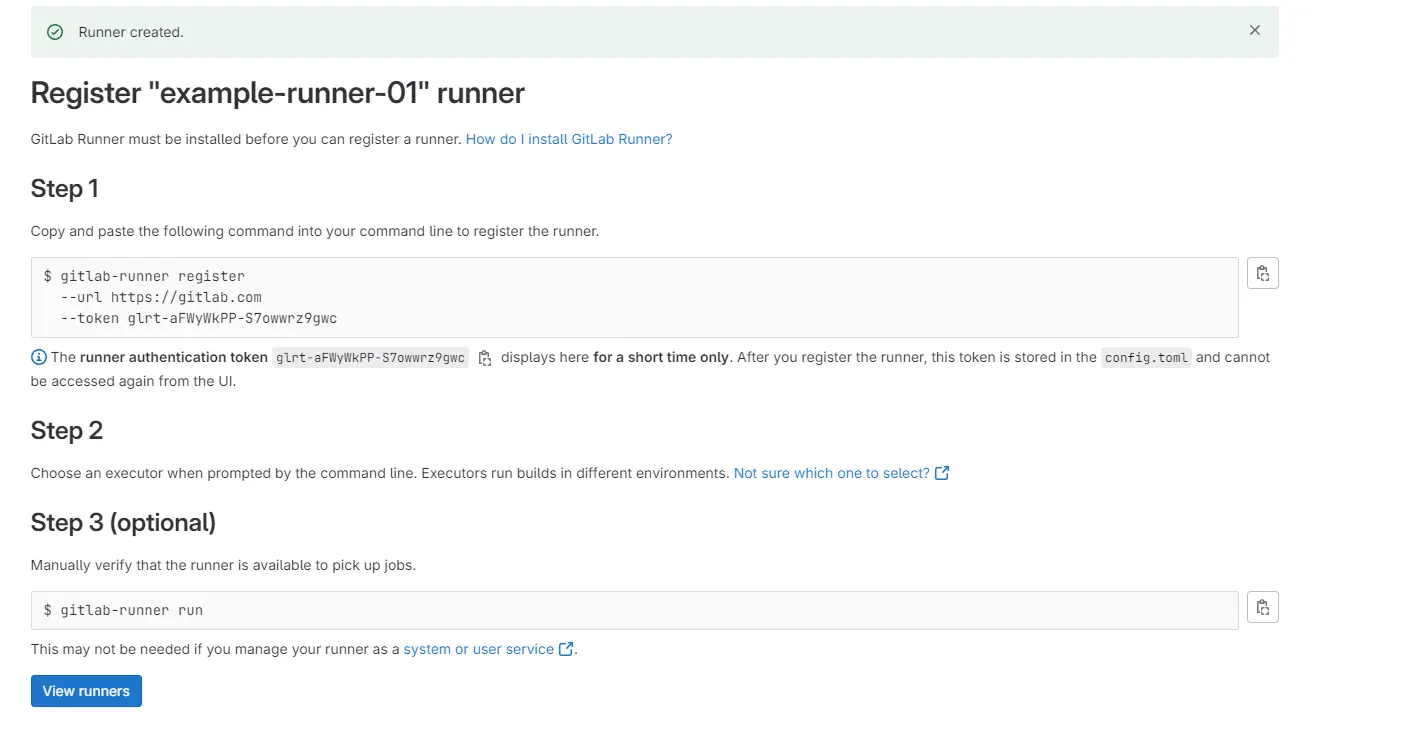
Keep this information and go back to the rancher-ui, click on Workloads –> Deployments and create a new deployment. 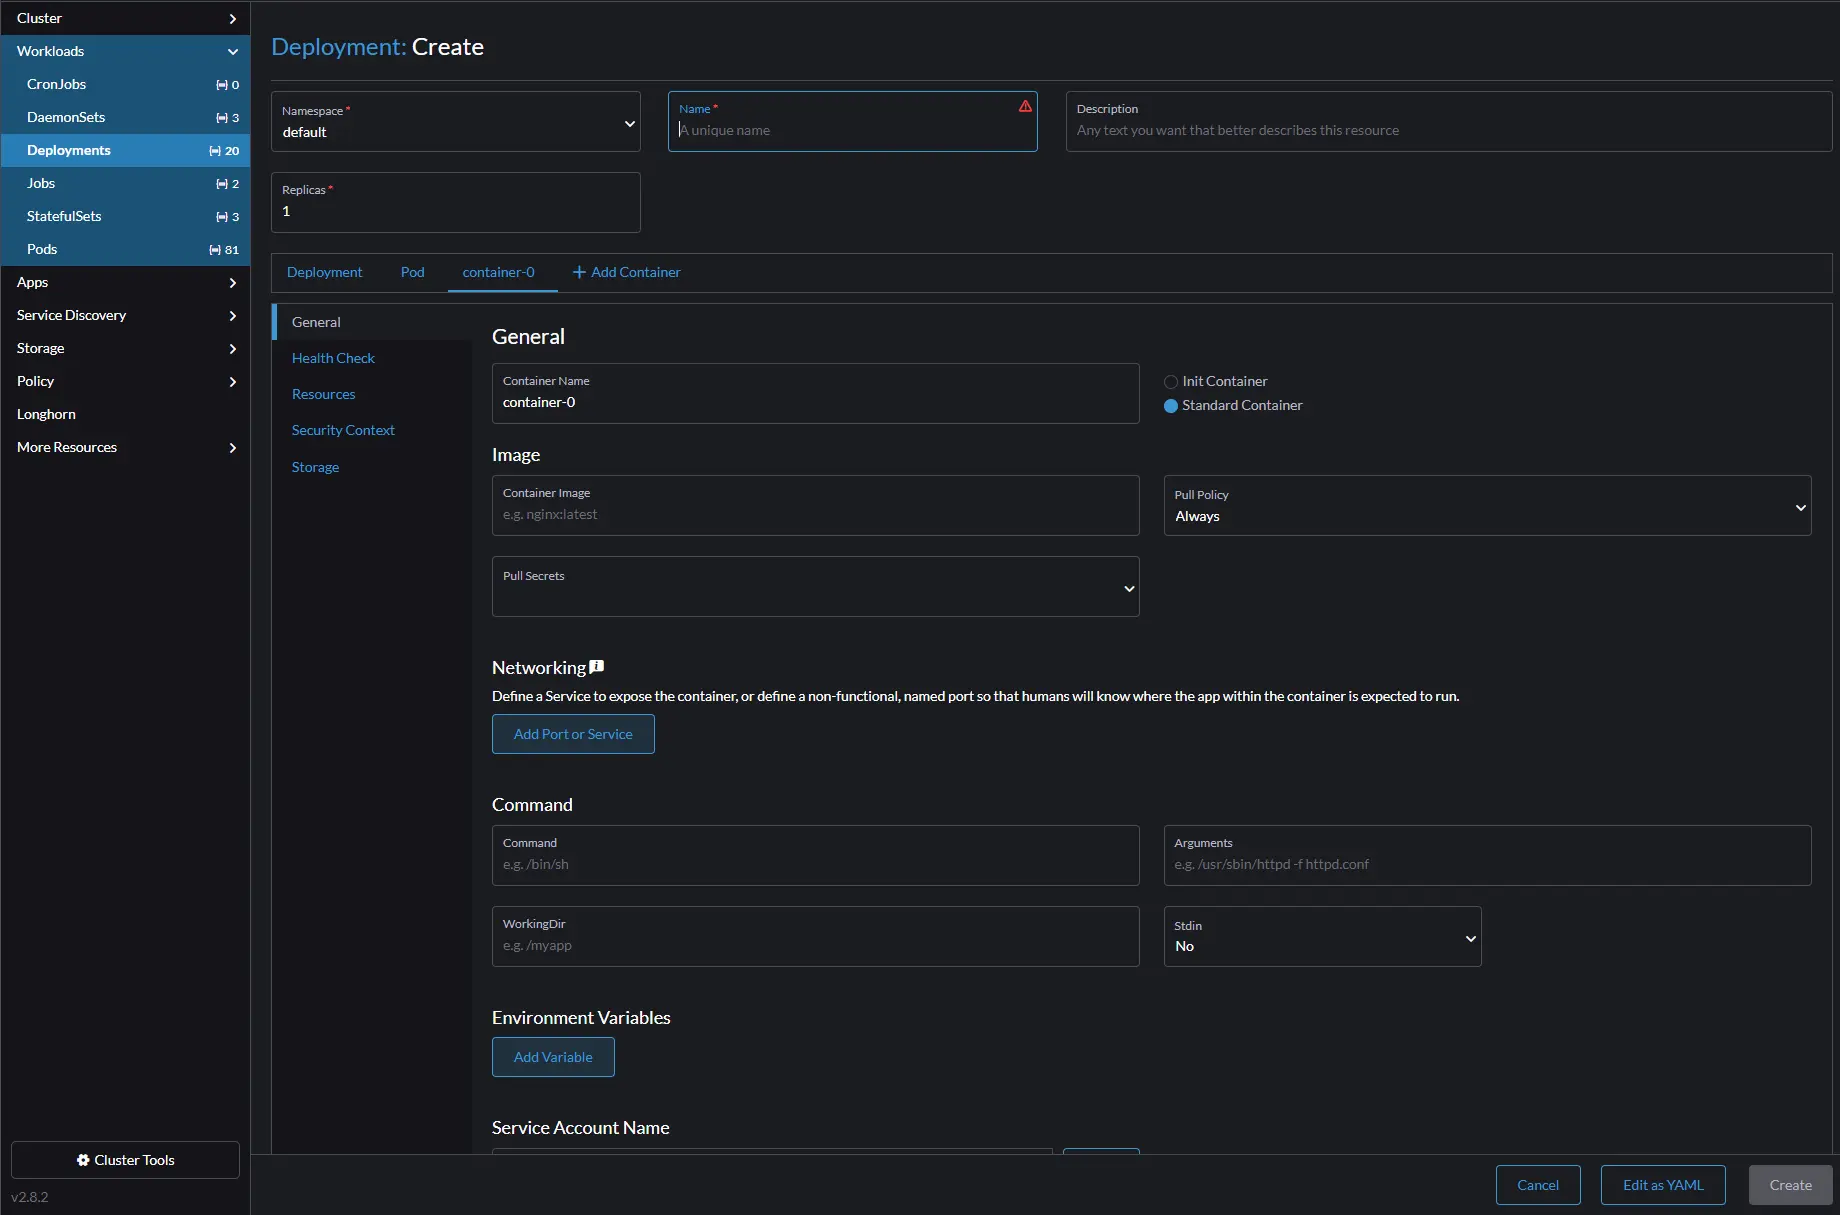
We need to add storage and map these to the local worker host where this workload will land. Click on the Pod and then storage to create the pod storage, click add volume and select bind-mount from the drop down, do this a second time. On the first bind-mount lets call the volume gitlab-runner-config, the path on node will be /home/ansibleuser/gitlab-runner, use whatever the username you used when installing k3s on your worker nodes.
One the second volume, name it gitlab-docker and the path on node should be /var/run/docker.sock 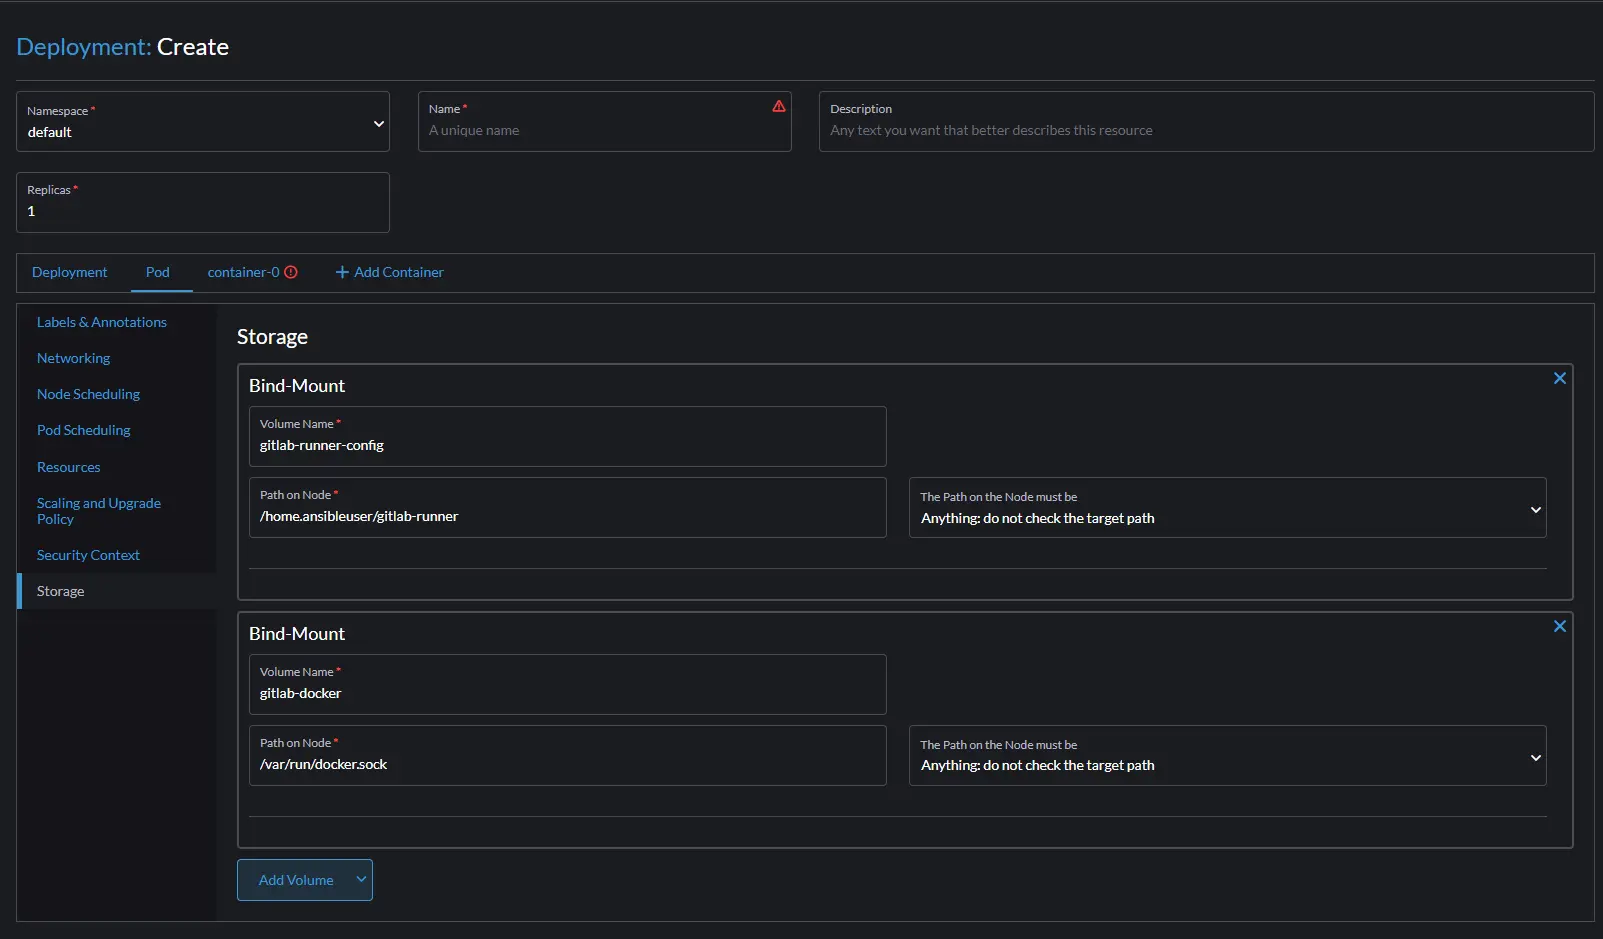
Click on the container-0 and then storage, select the two volumes you created on the pod section and add them to the container. The mount points should be as follows 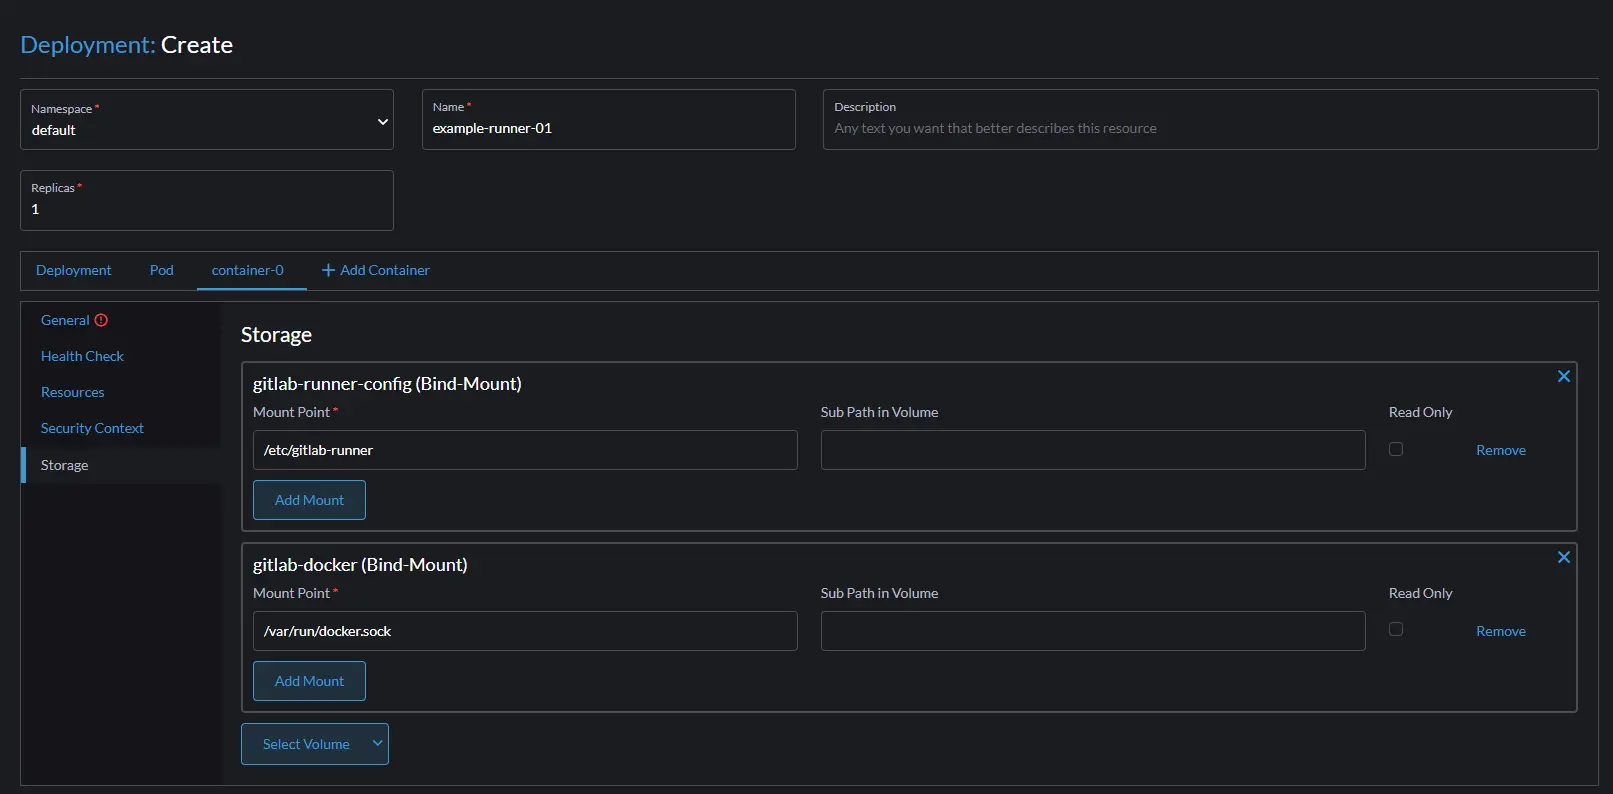
Click the General link above storage, give you container a name, use the gitlab/gitlab-runner image, and then click create. 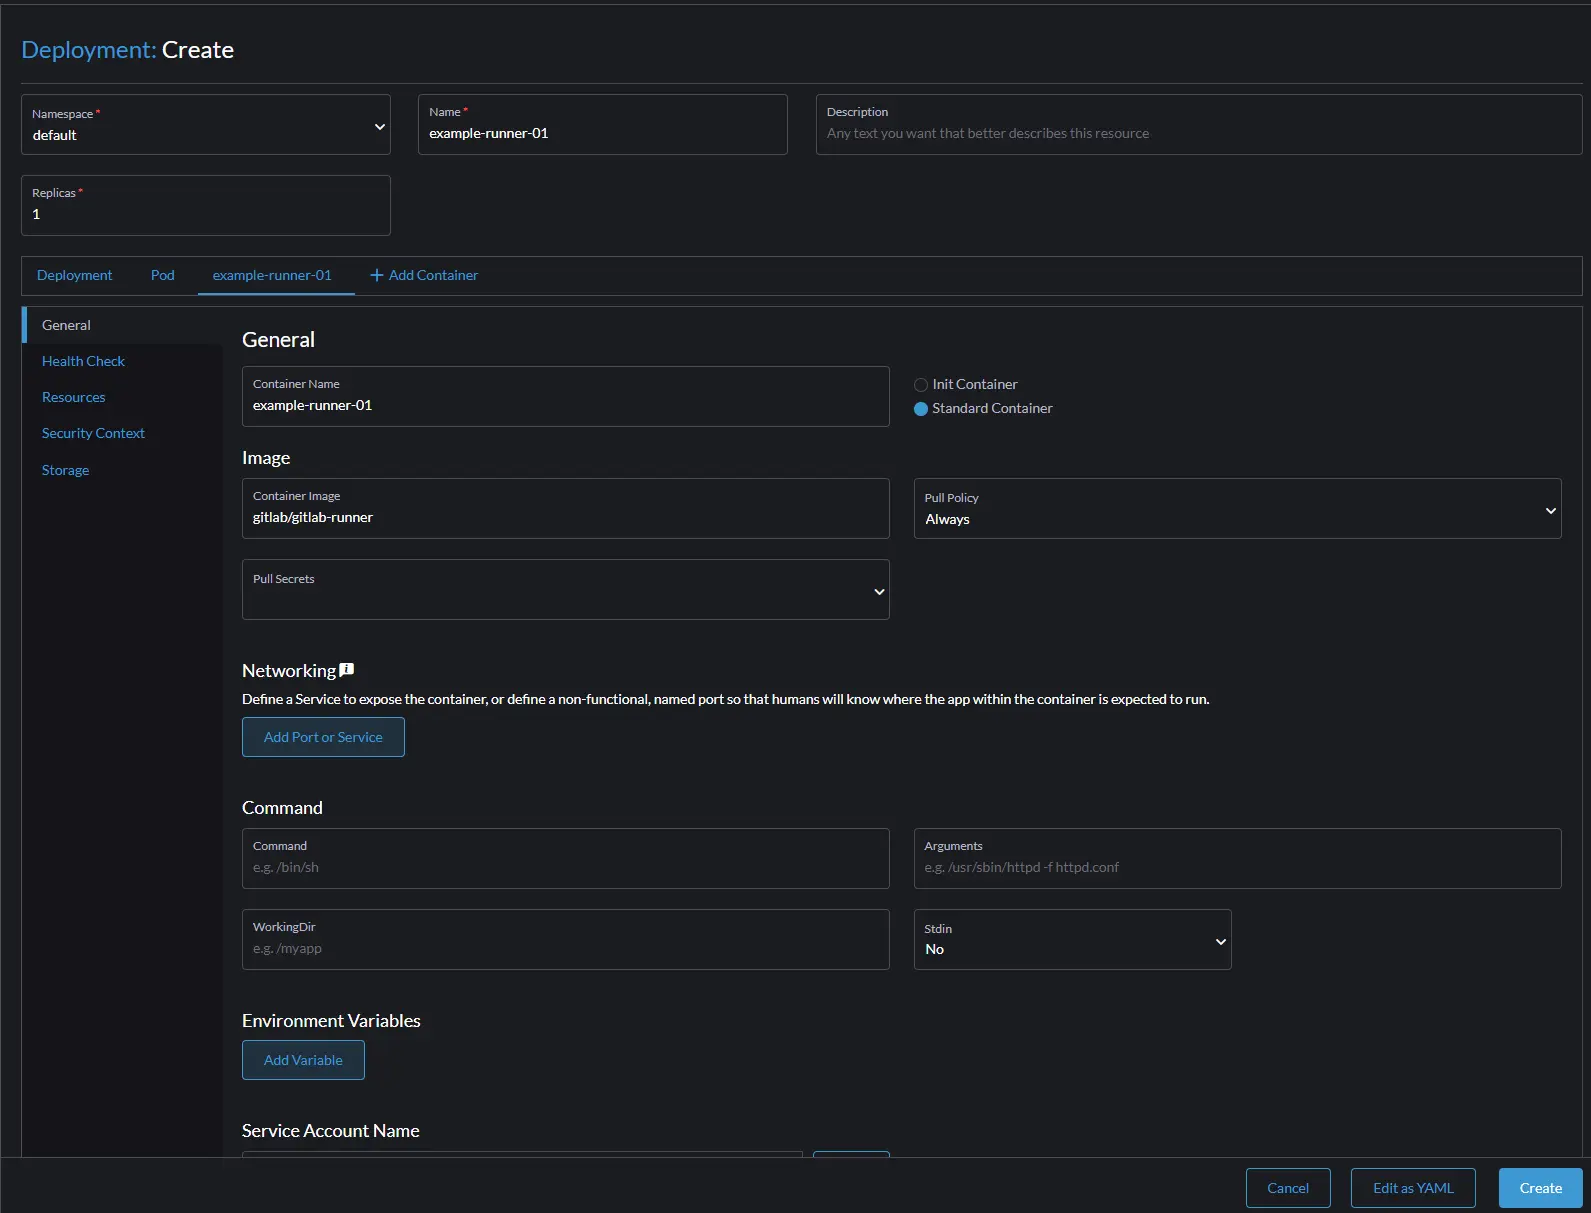
Once this deployment turns green and shows Active click on it and in the pods select the 3 dots and chose Execute Shell 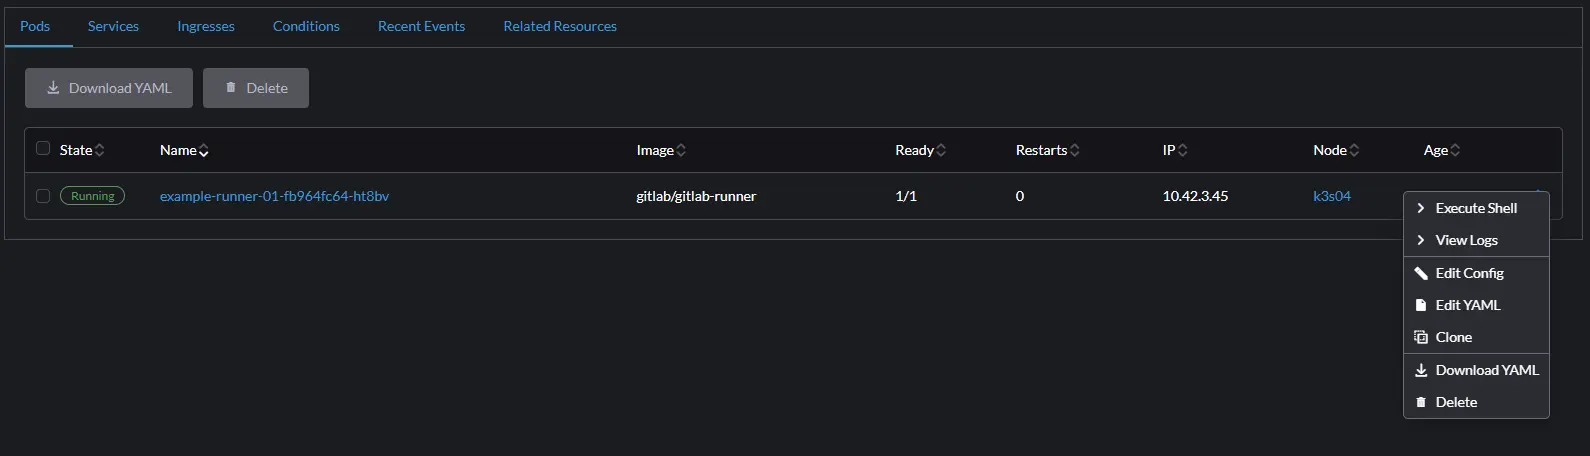
In the shell we need to run a few commands to allow this runner to communicate with our Gitlab group runner.
1
gitlab-ci-multi-runner register
Provide the url you created for you gitlab deployment, enter the registration token from the gitlab runner page from above. Give a name to your runner example-runner-01. It will ask for an executor and provide several options, I am using docker and the image will be docker:stable.
Docker will need to be installed on your k3s cluster workers for this to properly function. The version of k3s I am using does not install docker by default. You will need to install docker and reboot each of your worker nodes after docker has been installed.
At this point you should see after a few seconds that it has registered in your Gitlab. 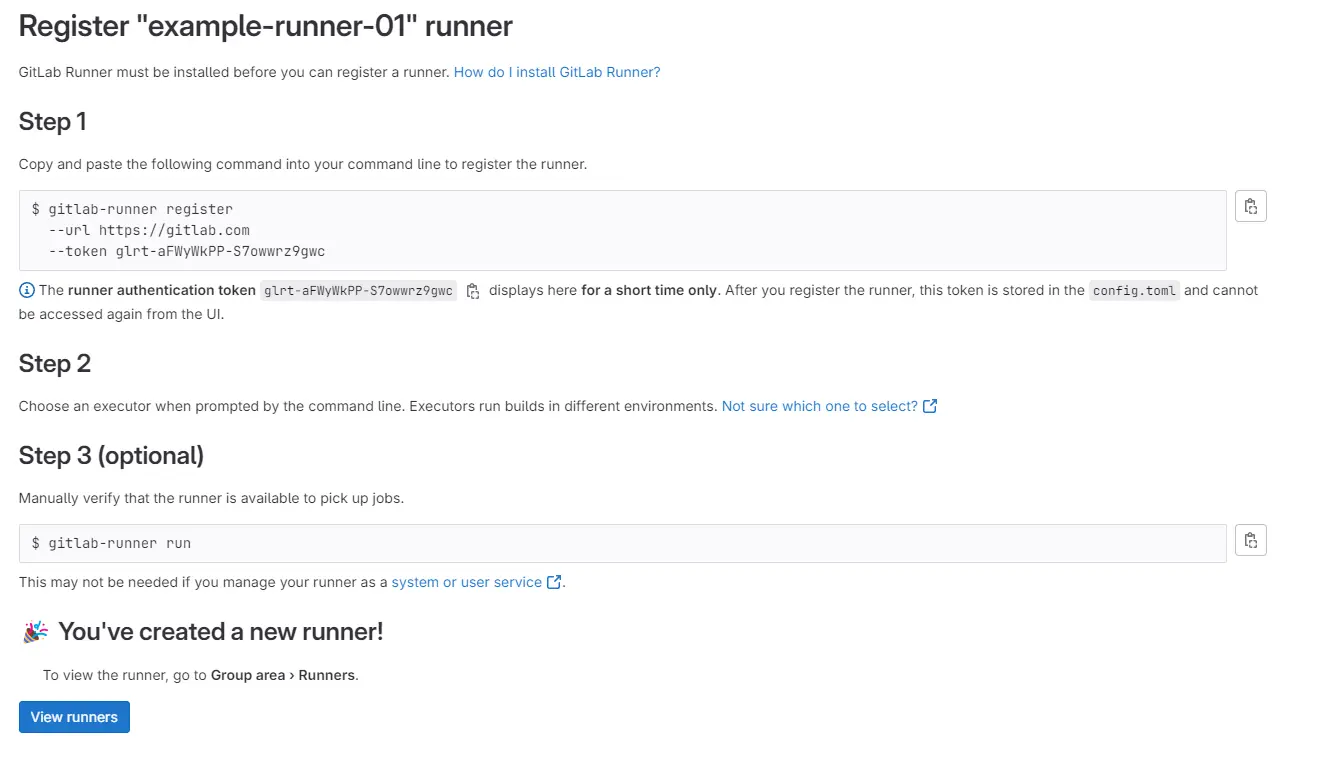
We are ready to test this pipeline out. Add a post to your _posts folder and commit it to your repository. Go to the Gitlab project –> Build –> pipelines. After your commit and sync you should see Gitlab start a new pipeline and go through the 4 stages outlined in Part 1, also to learn more about posts go here. 
When it hits the deploy stage you can also observe the deployment on your rancher-ui pulling this new container and starting it up. As long as your have DNS built out for you hostname once that deployment is running you should be able to reach this new website in your browser.