Gitlab CI/CD Part 1
CI/CD with Gitlab Part 1
Now that I have Gitlab up and running I want to build a small CI/CD pipeline that will create an nginx container that will host my blog. The idea is that when I create a post and commit that to my Gitlab repo it would kick off the pipeline and deploy the new version of the container to my k3s cluster. In Part 1 I will cover the Jekyll theme and explain the gitlab ci-cd pipeline which includes building a container and deploying it to my k3s cluster.
For my blog I will be using Chirpy which is a Jekyll theme, you check out the github repo here in my opinion it is an excellent theme and looks great on mobile as well as desktop. TechnoTim has a great video on this as well if you want a better resource than this blog. If you are reading this then it means that whatever I did in this post is working.
Chirpy Jekyll
First thing is first clone the themes repo, if you are using ubuntu
1
2
sudo apt update
sudo apt install ruby-full build-essential zlib1g-dev git
I use bash, the next step is adding a couple of environment variables
1
2
3
4
echo '# Install Ruby Gems to ~/gems' >> ~/.bashrc
echo 'export GEM_HOME="$HOME/gems"' >> ~/.bashrc
echo 'export PATH="$HOME/gems/bin:$PATH"' >> ~/.bashrc
source ~/.bashrc
Then you can use gem to install jekyll bundler
1
gem install jekyll bundler
You can test how everything looks from your local machine by issuing this command
1
bundle exec jekyll s
Creating content is pretty easy and covered in the themes readme, but you simply create a markdown file inside the _posts directory, you will want to name the files in the folder accordingly
1
2
2024-04-04-content-stuff.md
2024-04-01-april-fools.md
If you are running your site locally with the above commands you would see the console regenerating the site with the new file you just added
1
2
3
4
5
6
Server address: http://127.0.0.1:4000/
  Server running... press ctrl-c to stop.
      Regenerating: 1 file(s) changed at 2024-04-04 13:55:58
                    _posts/2024-04-04-gitlab-ci-cd.md
                    ...done in 0.714418886 seconds.
Something awesome that this theme does is takes images you use as a header to your post, it will thumbnail in the landing page that shows all of your posts.
So this for example 
could be placed into the header of the post like this
1
2
3
4
5
6
7
8
9
10

---
title: Gitlab CI/CD
date: 2024-04-04 12:00:00 -500
categories: [100DaysOfHomeLab]
tags: [kubernetes,cicd,gitlab,100DaysOfHomeLab]
image:
  path: /assets/img/headers/CI-CD-HEADER.webp
---
the jinja template building the HTML will take that path and push it as a thumb nail for the post on the landing page.
The end result would be your thumbnail 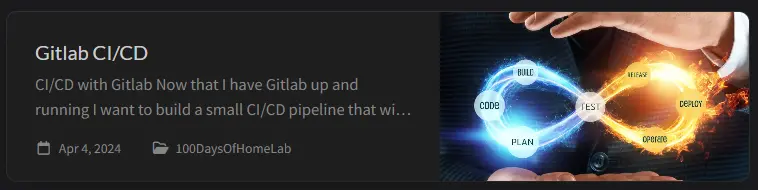
and your post header 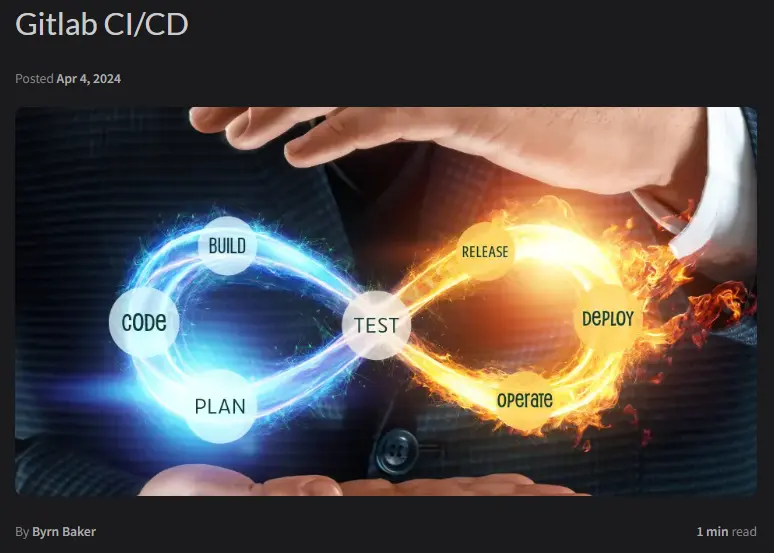
Pretty slick if you ask me.
Building a Gitlab Pipeline
in your root folder of this repo create a file called gitlab-ci.yml. In this file we will define our pipeline.
I will describe this from the top of the file to the bottom, At the top we define the four stages: test, docker, deploy, and flushcache.
The variables section defines environment variables that are used throughout the pipeline. KUBECONFIG is the path to the Kubernetes configuration file, JEKYLL_ENV sets the Jekyll environment to production, GIT_STRATEGY is set to clone which means GitLab will always clone the repository instead of trying to fetch and merge changes, and GIT_DEPTH is set to 0, which creates a full clone of the repository.
1
2
3
4
5
6
7
8
9
10
11
12
13

stages:
  - test
  - docker
  - deploy
  - flushcache

variables:
  KUBECONFIG: .kube/config
  JEKYLL_ENV: production
  GIT_STRATEGY: clone
  GIT_DEPTH: 0
The cache section defines a global cache configuration that is used in the build job. The cache is keyed by the project name and includes the vendor/ruby directory. The pull-push policy means that the cache will be updated after each pipeline.
1
2
3
4
5
6
7

cache: &global_cache
  key: $CI_PROJECT_NAME
  paths:
    - vendor/ruby
  policy: pull-push
The build job uses a Ruby 3.2.2 image to run tests. It installs the Bundler gem, sets the local Bundler path to vendor/ruby, installs the project’s dependencies with bundle install, and builds the Jekyll site with bundle exec jekyll b. The _site directory is saved as an artifact that expires in one week.
1
2
3
4
5
6
7
8
9
10
11
12
13
14
15
16
17

build:
  image: ruby:3.2.2
  stage: test
  artifacts:
    paths:
      - _site
    expire_in: 1 week
  cache:
    <<: *global_cache
  retry: 2
  script:
    - gem install bundler
    - bundle config set --local path 'vendor/ruby'
    - bundle install
    - JEKYLL_ENV=production bundle exec jekyll b
The docker_image_build_release job uses the Kaniko project’s executor image to build a Docker image from the project. It creates a Docker configuration file with the GitLab CI registry credentials and uses Kaniko to build the Docker image.
1
2
3
4
5
6
7
8
9
10
11
12
13

docker_image_build_release:
  image:
    name: gcr.io/kaniko-project/executor:debug
    entrypoint: [""]
  cache: []
  stage: docker
  retry: 2
  script:
    - mkdir -p /kaniko/.docker
    - echo "{\"auths\":{\"$CI_REGISTRY\":{\"username\":\"$CI_REGISTRY_USER\",\"password\":\"$CI_REGISTRY_PASSWORD\"}}}" > /kaniko/.docker/config.json
    - /kaniko/executor --context $CI_PROJECT_DIR --dockerfile $CI_PROJECT_DIR/Dockerfile --destination $CI_REGISTRY_IMAGE:latest
The deploy job uses a specific version of the Bitnami kubectl image to deploy the application to a Kubernetes cluster. It modifies the Kubernetes deployment configuration with the current date and the Docker image registry, decodes the Kubernetes configuration from a base64-encoded environment variable, and applies the Kubernetes configuration with kubectl apply.
1
2
3
4
5
6
7
8
9
10
11
12
13
14
15
16

deploy:
  image:
    name: bitnami/kubectl@sha256:6410882b254fde82200c364b606b0cbb9b0fb802fede69011a33b9d28066b459
    entrypoint: [""]
  cache: []
  stage: deploy
  retry: 2
  before_script:
    - sed -ie "s/deploy-date-value/$(date)/g" kubernetes/deployment.yaml
    - sed -ie "s|registry-value|$CI_REGISTRY_IMAGE|g" kubernetes/deployment.yaml
    - mkdir -p .kube/ && touch .kube/config
    - echo ${KUBERNETES_KUBE_CONFIG} | base64 -d -i > ${KUBECONFIG}
  script:
    - kubectl apply -f kubernetes
The flushcache job uses the Alpine curl image to send a POST request to the Cloudflare API to purge the cache. It waits for 60 seconds before sending the request. The –fail, –output “/dev/null”, –silent, and –show-error options are used to handle errors and control the output of the curl command.
1
2
3
4
5
6
7
8
9
10
11
12
13
14

flushcache:
    image: alpine/curl
    cache: []
    artifacts: {}
    stage: flushcache
    retry: 2
    script:
    - sleep 60
    - |
        curl --fail --output "/dev/null" --silent --show-error -X POST "https://api.cloudflare.com/client/v4/zones/$CF_ZONE_ID/purge_cache" \
        -H "Authorization: Bearer $CF_API_TOKEN" -H "Content-Type: application/json" \
        --data '{"purge_everything":true}'
So this defines the pipeline that will be used. We need to add a few more components to really make this pipeline work however.
Building the container
In the root of your repo you will need to create a new folder, name it kubernetes. In the folder we need to create a deployment.yaml file. This file will define the container and any elements needed when this is deployed into k3s cluster, like the ingress route.
Again I will explain this in sections
The Deployment is named blog-byrnbaker-me and is set to run in the default namespace. It’s configured to maintain 2 replicas of the application pod. The progressDeadlineSeconds: 600 line means that if a new ReplicaSet doesn’t become ready within 10 minutes, the deployment will be considered as failed. The revisionHistoryLimit: 3 line means that it keeps the last three ReplicaSets and discards the rest.
1
2
3
4
5
6
7
8
9
10
11
12
13
14

apiVersion: apps/v1
kind: Deployment
metadata:
  name: blog-byrnbaker-me
  namespace: default
spec:
  selector:
    matchLabels:
      app: blog-byrnbaker-me
  replicas: 2
  progressDeadlineSeconds: 600
  revisionHistoryLimit: 3
The strategy field defines that a RollingUpdate strategy is used when changes to the PodTemplateSpec are applied. During a rolling update, the maximum number of unavailable pods is 25% and the maximum number of surge pods is 1.
The template field is a PodTemplateSpec that describes the pods that will be created. The imagePullPolicy: Always line means that the image is always pulled from the registry before starting the container. The livenessProbe and readinessProbe fields define how Kubernetes checks if the application in the pod is running and ready to serve traffic.
1
2
3
4
5
6
7
8
9
10
11
12
13

  strategy:
    type: RollingUpdate
    rollingUpdate:
      maxUnavailable: 25%
      maxSurge: 1
  template:
    metadata:
      labels:
        app: blog-byrnbaker-me
      annotations:
        deploy-date: "deploy-date-value"
The spec section in this YAML snippet describes the specifications for the containers that will be deployed as part of a Kubernetes Pod.
- containers: This is a list of containers that will be part of the Pod. In this case, there is only one container, blog-byrnbaker-me.
- name: The name of the container.
- image: The Docker image to use for the container. The value registry-value:latest is a placeholder and should be replaced with the actual image registry path.
- imagePullPolicy: Always: This means Kubernetes will always pull the latest image from the registry before starting the container.
- resources: This specifies the resource requests for the container. The container is guaranteed to have access to at least 100Mi of memory and 100m CPU (1/10th of a CPU core).
- ports: This is a list of ports to expose from the container. Here, port 80 is exposed and named http.
- livenessProbe: This is a probe to check the health of the container. If this probe fails, Kubernetes will restart the container. The probe makes an HTTP GET request to the root path (/) on port http every 10 seconds, starting 30 seconds after the container has started. If the probe fails 5 times (the failureThreshold), the container is restarted.
- readinessProbe: This is a probe to check when the container is ready to start accepting traffic. The probe makes an HTTP GET request to the root path (/) on port http every 10 seconds. If the probe succeeds twice (the successThreshold), the container is marked as ready. If the probe fails twice (the failureThreshold), the container is marked as not ready and won’t receive any traffic from the Service.
- imagePullSecrets: This is a list of secrets that contain credentials for pulling Docker images from private registries. In this case, the secret registry-credentials-gitlab is used to pull the Docker image.
1
2
3
4
5
6
7
8
9
10
11
12
13
14
15
16
17
18
19
20
21
22
23
24
25
26
27
28
29
30
31
32
33

    spec:
      containers:
        - name: blog-byrnbaker-me
          image: "registry-value:latest"
          imagePullPolicy: Always
          resources:
            requests:
              memory: 100Mi
              cpu: 100m
          ports:
            - containerPort: 80
              name: http
          livenessProbe:
            httpGet:
              path: /
              port: http
            initialDelaySeconds: 30
            periodSeconds: 10
            failureThreshold: 5
            timeoutSeconds: 5
          readinessProbe:
            initialDelaySeconds: 5
            successThreshold: 2
            failureThreshold: 2
            periodSeconds: 10
            timeoutSeconds: 5
            httpGet:
              path: /
              port: http
      imagePullSecrets:
        - name: registry-credentials-gitlab
The Service named blog-byrnbaker-me-service exposes the application pods on port 80. It selects the pods based on the app: blog-byrnbaker-me label.
1
2
3
4
5
6
7
8
9
10
11
12
13
14

---
apiVersion: v1
kind: Service
metadata:
  name: blog-byrnbaker-me-service
spec:
  selector:
    app: blog-byrnbaker-me
  ports:
    - protocol: TCP
      port: 80
      targetPort: 80
The IngressRoute is named blog-byrnbaker-me-ingressroute and is set to run in the default namespace.
The annotations field contains metadata that configures the behavior of the Ingress controller and the certificate manager. The kubernetes.io/ingress.class: traefik-external annotation specifies that this IngressRoute should be handled by the traefik-external Ingress controller. The cert-manager.io/issuer, cert-manager.io/issuer-kind, and cert-manager.io/issuer-group annotations configure the issuer for the TLS certificate.
The spec field describes the behavior of the IngressRoute.
- entryPoints is a list of network entry points (ports) to which the IngressRoute applies. In this case, it applies to the websecure entry point, which is typically port 443 for HTTPS traffic.
- routes is a list of rules that determine how to route traffic. In this case, there is one rule that matches traffic with the host blog.byrnbaker.me. The traffic is routed to the blog-byrnbaker-me-service service on port 80.
- tls configures TLS termination for the IngressRoute. The secretName: prod-blog-byrnbaker-me-tls line specifies that the prod-blog-byrnbaker-me-tls secret contains the TLS certificate and key.
1
2
3
4
5
6
7
8
9
10
11
12
13
14
15
16
17
18
19
20
21
22
23
24

---
apiVersion: traefik.containo.us/v1alpha1
kind: IngressRoute
metadata:
  name: blog-byrnbaker-me-ingressroute
  namespace: default
  annotations:
    kubernetes.io/ingress.class: traefik-external
    cert-manager.io/issuer: prod-issuer
    cert-manager.io/issuer-kind: OriginIssuer
    cert-manager.io/issuer-group: cert-manager.k8s.cloudflare.com
spec:
  entryPoints:
    - websecure
  routes:
  - match: Host(`blog.byrnbaker.me`)
    kind: Rule
    services:
    - name: blog-byrnbaker-me-service
      port: 80
  tls:
    secretName: prod-blog-byrnbaker-me-tls